STEP 1
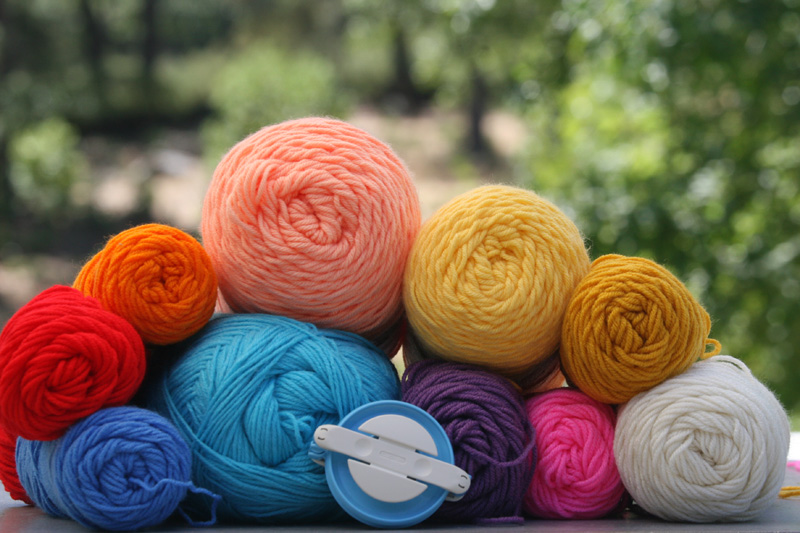
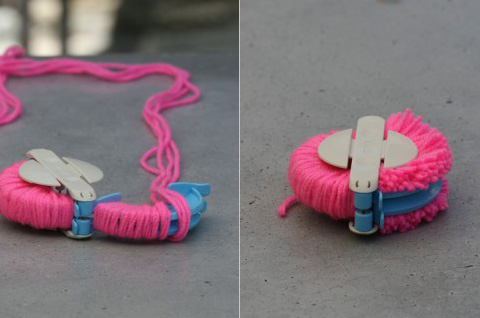
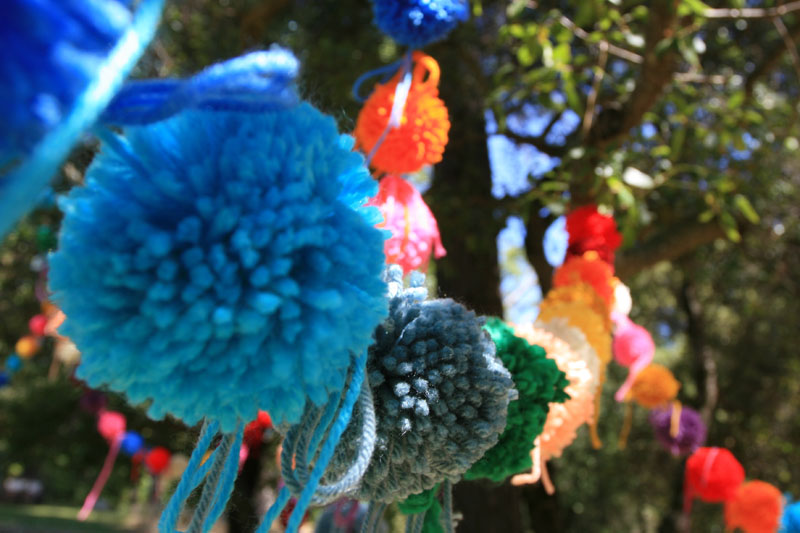
The Clover Pom Pom Maker separates the process into two halves; you’ll start the first half of the pom pom by cutting about 7 yards of yarn. A time saving trick is to double it up twice, so you are working with 4 strands at one time. Because time is money, right? Wrap the yarn from one edge of the arch to the other, making sure you have the entire area covered. Close the arch and repeat the same steps on the other side. Once both arches are covered, insert your scissors into the middle ridge and cut along the entire circle. Tie off your pom pom by slipping a piece of yarn along the middle, pull it into a tight knot, open your arch and pull your pom pom maker apart. Trim up your pom pom if necessary but leave the long piece of yarn you used to tie it together, as you’ll need that to attach your pom poms to….well, just about anything.